When you click on links to various merchants on this site and make a purchase, this can result in this site earning a commission. Affiliate programs and affiliations include, but are not limited to, the eBay Partner Network.
REMOVAL PROCEDURE
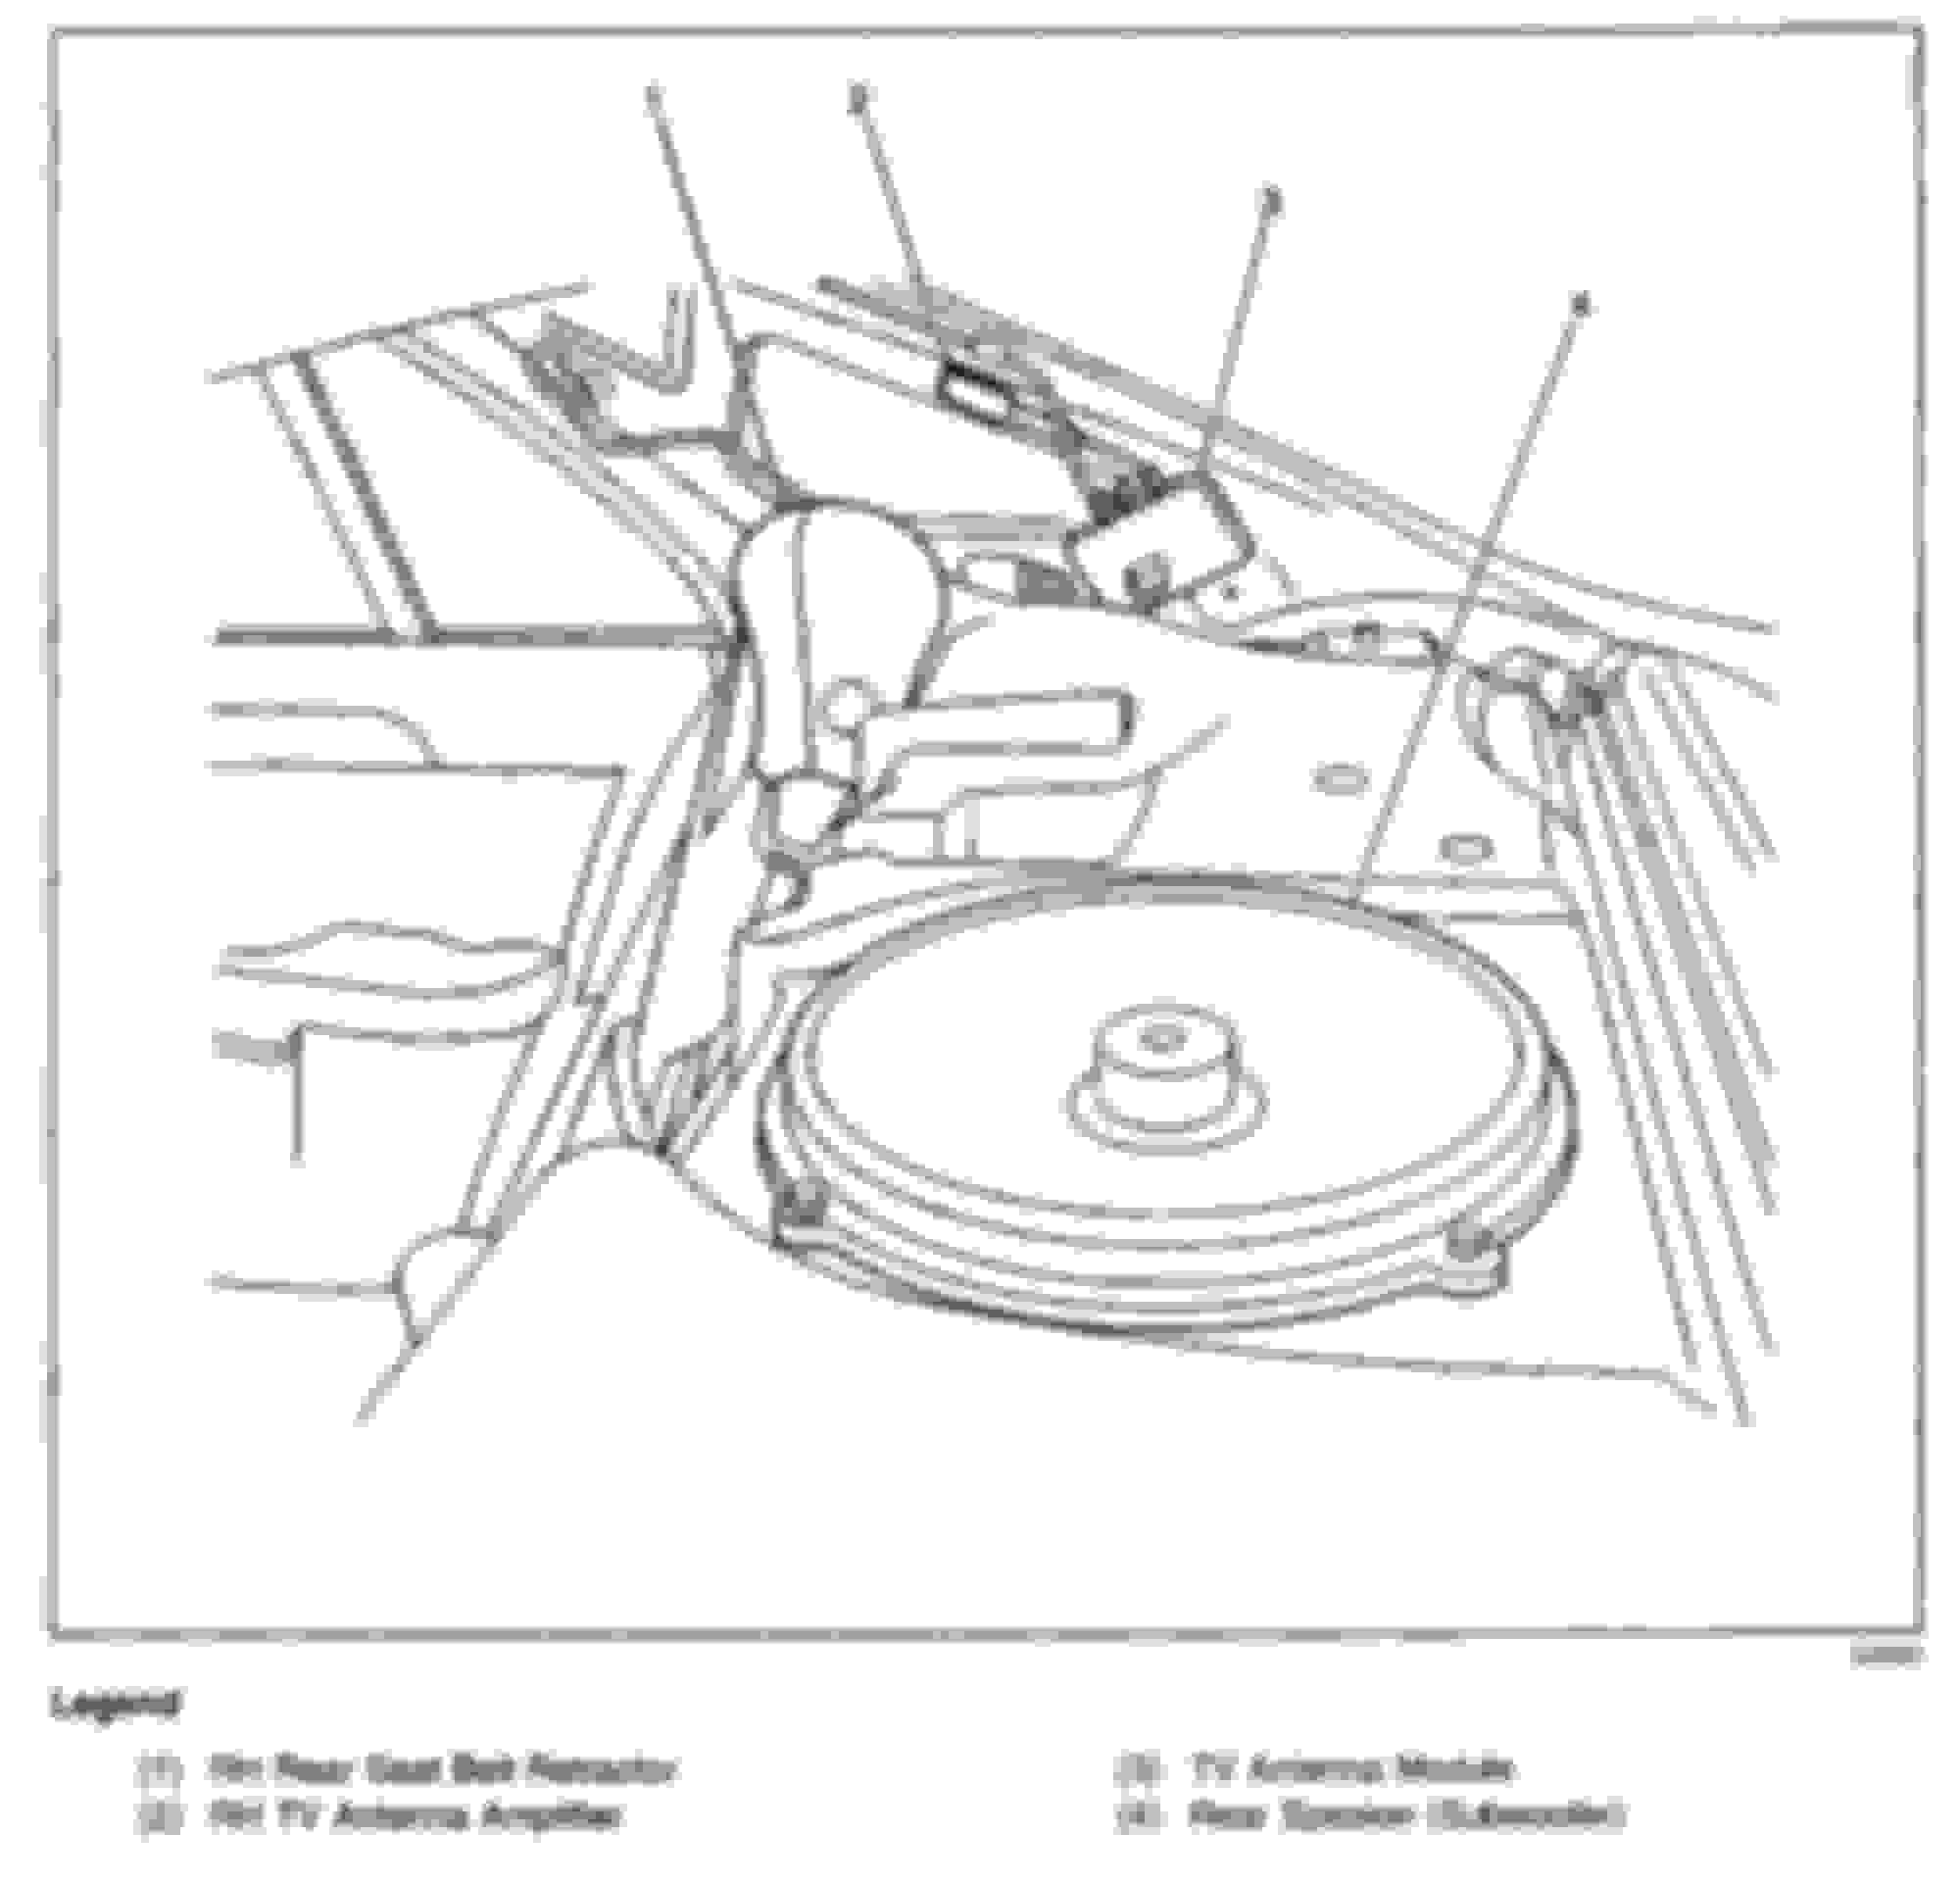
1. Remove the rear shelf trim panel.
2. Remove the 4 retainers.
3. Partially remove the rear speaker from the rear shelf trim panel.
4. Disconnect the electrical connector.
5. Remove the rear speaker from the rear shelf carrier panel.
INSTALLATION PROCEDURE
1. Connect the electrical connector.
2. Install the rear speaker into the opening in the rear shelf panel.
3. Install the 4 retainers.
4. Install the rear shelf trim panel.
@ Short Fuse: Thank you! this will be very help once my new sub comes in. Another question, how do I take the rear deck trim panel? I cannot seem to get the seat to move enough for me to access the plastic rivet things to get access to the top of the rear deck/speaker/sub area. Any info is appreciated.
1. Remove the rear seat back. Refer to Rear Seat Back Replacement (1st Design ) (See: Seat Back > Removal and Replacement > Rear Seat Back Replacement (1st Design )) in Seats.
2. Remove the rear seat belt retractors. Refer to Rear Seat Belt Retractor Replacement.
3. Remove the 2 push in retainers from the cross car beam.
4. Lift up on the front edge of the rear shelf panel in order to release the hook and loop material.
5. Lift up on the rear of the rear shelf panel in order to release the hook and loop material.
6. Remove the rear shelf panel.
1. Push in and up on the front of the rear seat cushion.
2. Lift up and out on the seat cushion.
3. Disconnect heated seat electrical connectors (if equipped).
4. Remove the rear seat cushion from the vehicle.
1. Remove the upper trunk trim. Refer to Rear Compartment Front Trim Panel Replacement (See: Trim Panel > Removal and Replacement > Rear Compartment Front Trim Panel Replacement) in Body Rear End.
2. Remove the fasteners and the cable clips from the trunk pass-through release cable.
3. Remove the rear seat cushion. Refer to Rear Seat Cushion Replacement (See: Seat Cushion > Removal and Replacement > Rear Seat Cushion Replacement) .
4. Remove the center seat belt and shoulder belt buckle/seat back anchor bolts.
5. Place the center shoulder belt on the rear shelf panel.
6. Using a straight flat-bladed tool, insert the tool between the top of the seat back and rear of the shelf panel.
7. Push down on the flat-bladed tool in order to release the rear seat back retainers.
8. Release the four retainers and pull the seat back away from the cross car beam.
9. Remove the pass through cable (1) from the seat back pass through.
10. Disconnect the heated seat and rear lumbar electrical connector, if equipped.
11. Position the rear shoulder belts in order to clear the rear seat back during removal.
12. Remove the rear seat back.
@ SHORT FUSE: Sheezus thats a lot of info, very much appreciated! I am not sure if you are employed by this website but the website just gained a loyal subscriber because of you. Thank you!
I have a subscription to the website. They offer private access if you want it but you do have to pay for it. This is the professional mechanics information service.